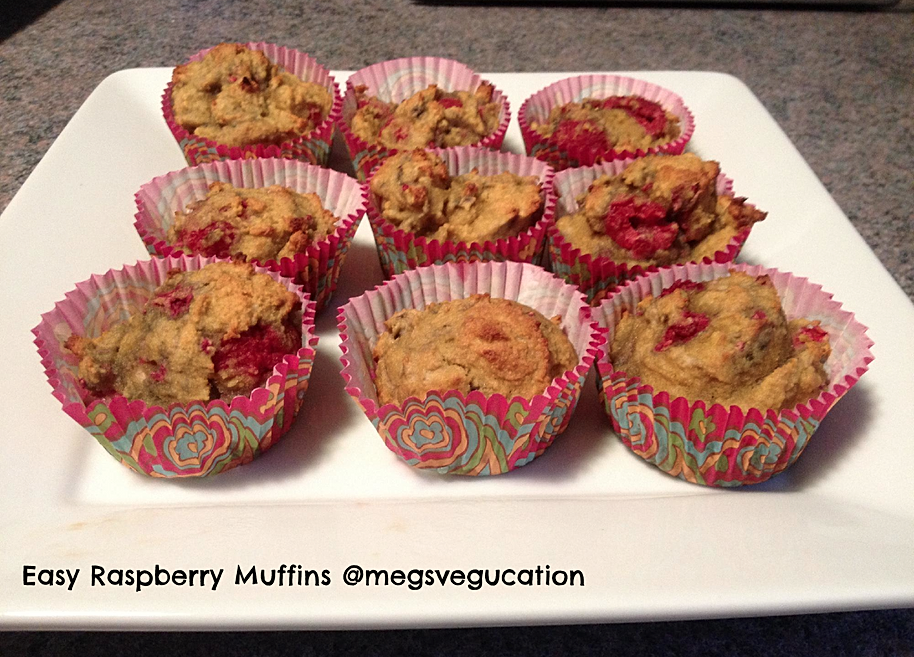
This is such a simple, easy recipe for the summer! These are great for breakfast & on the go snacks!
Adapted from Primally Inspired
yields 12 muffins
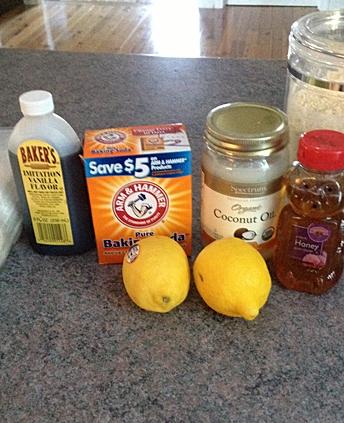
Ingredients
- 4 eggs
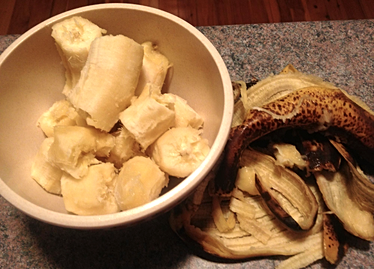
- 1 banana, mashed (or ½ cup unsweetened applesauce)
- 1/4 cup coconut oil or butter
- ¼ cup pure raw honey or pure maple syrup
- 1 tablespoon pure vanilla extract
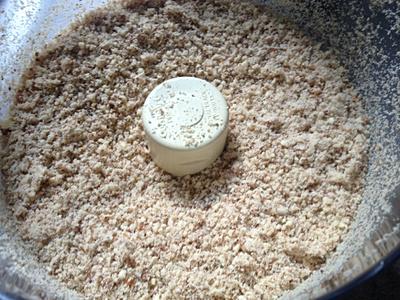
- ½ cup coconut flour
- 1 teaspoon baking soda
- ¼ teaspoon sea salt
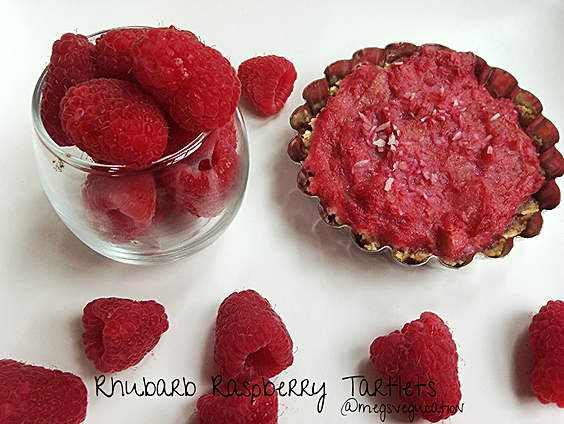
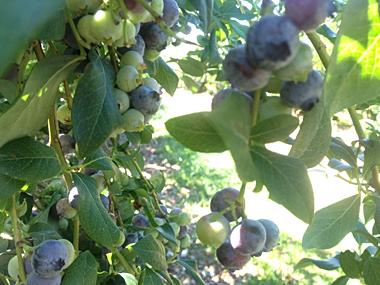
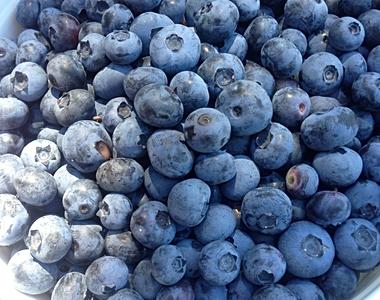
- 1 cup of fresh raspberries (or other fresh berries)
Instructions
- Preheat oven to 350 degrees.
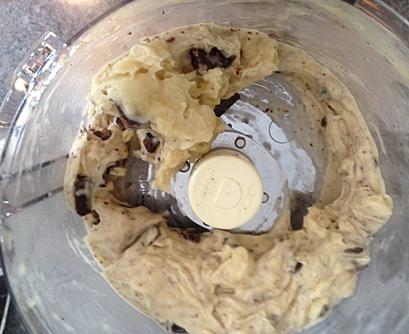
- In a mixing bowl, combine eggs, banana, oil, honey and vanilla until well combined. (I love using my potato masher to mash my bananas if they are not ripe enough yet)
- Add in coconut flour, baking soda and sea salt and stir.
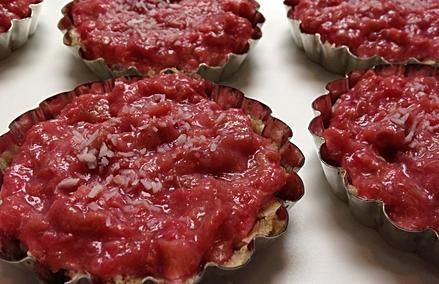
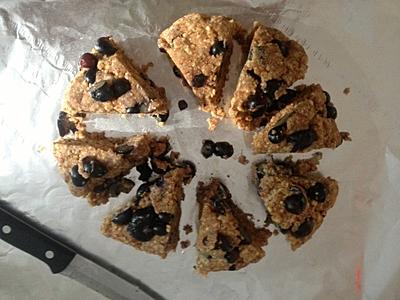
- Fold in berries gently.
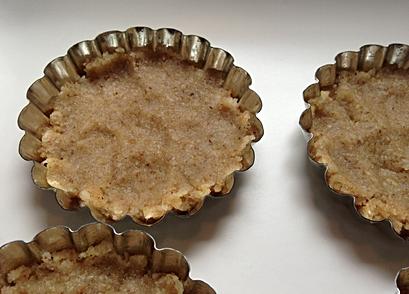
- Fill a lined muffin tray about ¾ of the way to the top.
- Bake for 20 minutes or unitl golden on top and cooked in the middle.
- Enjoy!
Nutritional Value: Calories: 111 Fiber: 2g Sugar: 6g
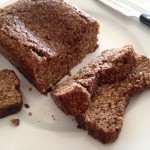
Easy Raspberry Muffins
gluten free, paleo